Fire twirling is spectacular to watch. But as I found, it’s also challenging and fun to photograph this centuries-old art form.
It’s also known by other names: fire dancing, fire spinning, fire performance, or fire manipulation. I got my chance recently to experience an incredible fire-twirling performance and experimented with ways to photograph it.
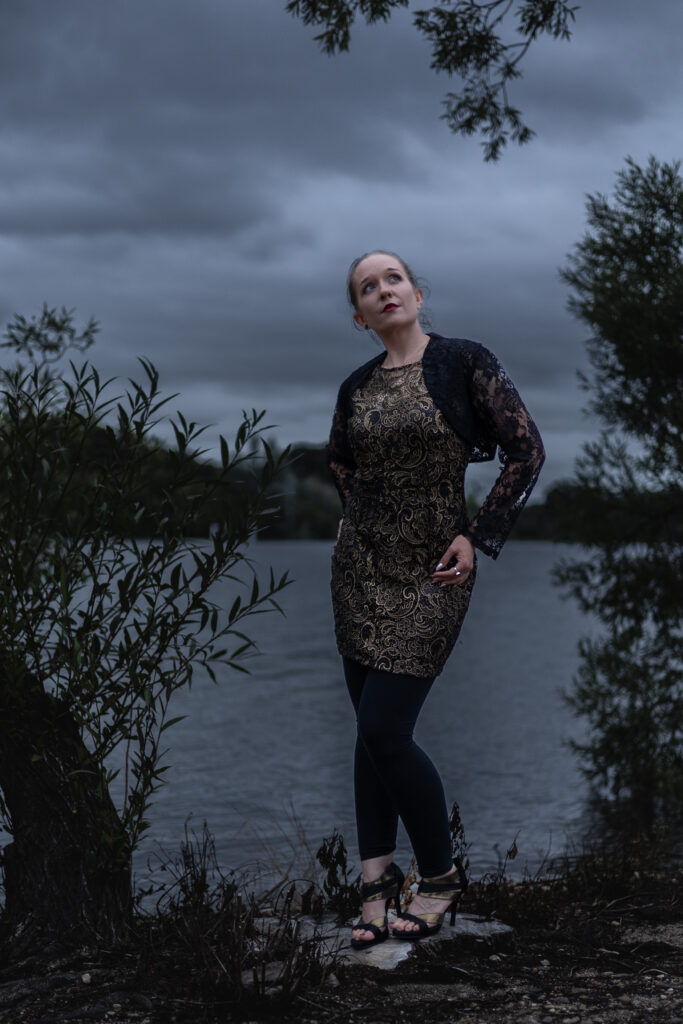
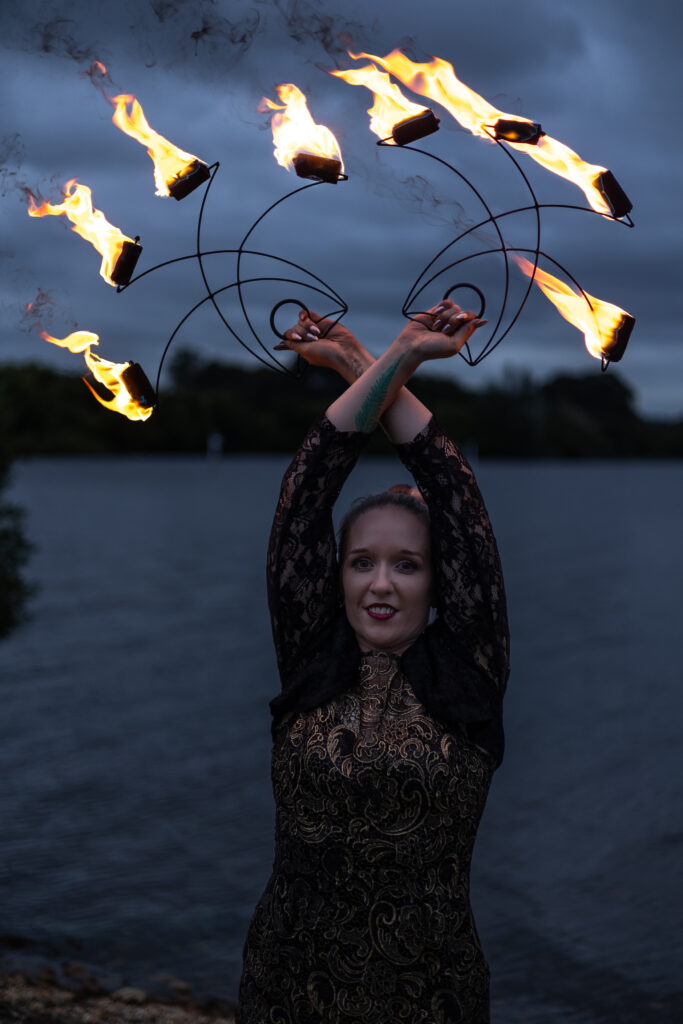
A big thanks to Wednesday from Luminary Performances for her expertise, creativity, and patience. Wednesday’s performance company specialises in fire twirling, circus, and dance. She has many years of experience as a performer, workshop presenter, and events coordinator. It was truly hypnotic to watch her skills while dancing with the flames and creating stunning effects against the darkening Canberra skies.
Fire-twirling photography – the learning curve
As a photographer, I love experimenting with different shooting styles and different subject matter – it’s what helps me to learn and grow as a visual artist.
Before this session, I read up about fire twirling and how to photograph it. It can be a bit tricky, as it involves dealing with low-light (or fast-fading light) conditions and fast-moving subjects. It also means finding the right balance between the brightness of the fire and the darkness of the surroundings.
Safety first
Safety is a big consideration during fire twirling. The burning pads on frames, poles, and other equipment can get hot and an unexpected puff of wind can fan the flames towards the performer and risk burning them.
We chose a night with very light to no winds, and a lakeside location covered in stones. Wednesday wore fitted clothing and wore her hair up. A fire blanket and extinguisher were also on standby.
Now for the fun part! Here’s how I approached photographing Wednesday’s incredible fire-twirling performance.
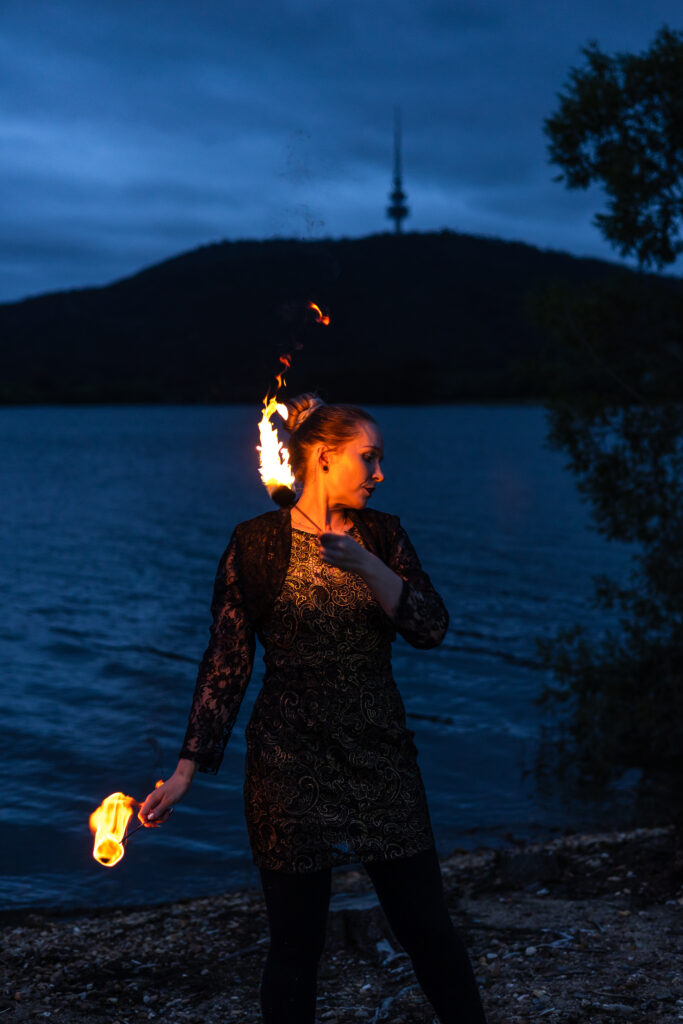
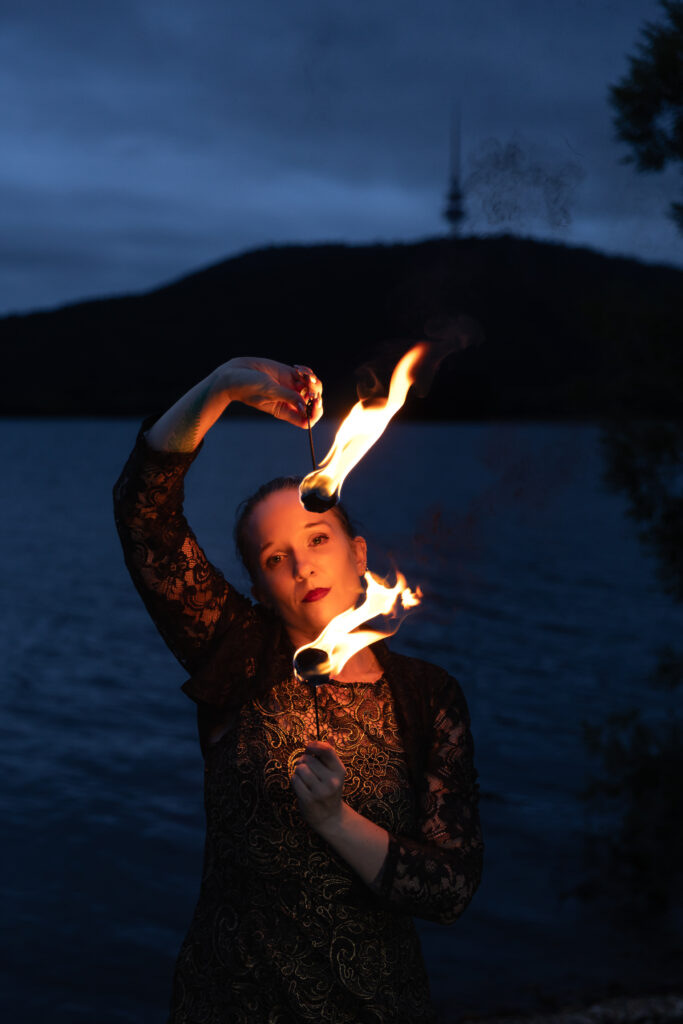
1. Fire twirling photography – choosing the right equipment
For my first foray into fire-twirling photography, I used two mirrorless cameras (the Canon R6) and set them in manual mode to give me more control over the exposure settings.
I tend to use two cameras when shooting so I don’t have to waste time changing lenses. And because the action moves quickly, it means I can swap cameras when (inevitably) the buffer fills up and the camera won’t let me take any more photos while it’s saving the images to my memory card.
I picked my RF 50mm f1.8 and an EF 24-70mm f2.8 lenses with an adapter for this session. These are fast lenses and when used wide open allow more light to come through. The shallow depth of field also helped to separate Wednesday from the background and her pop.
I also brought my little Lume Cube Panel Go to throw some additional light on my performer when it got quite dark. Plus, it meant I didn’t need to use a flash (which, to be honest, probably would have struggled given the gazillion photos I took).
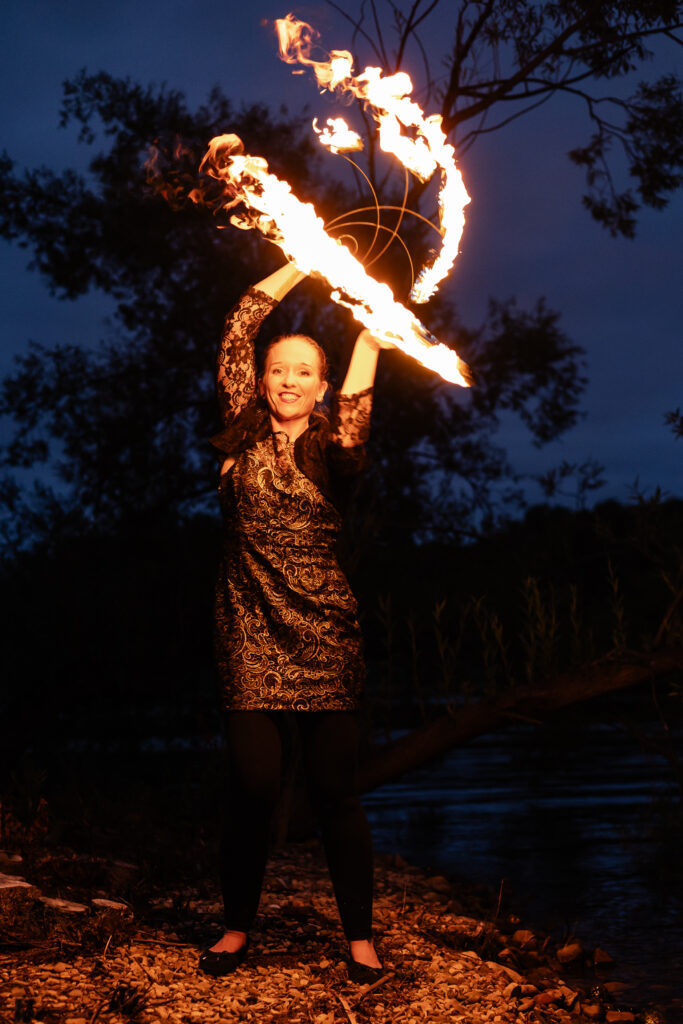
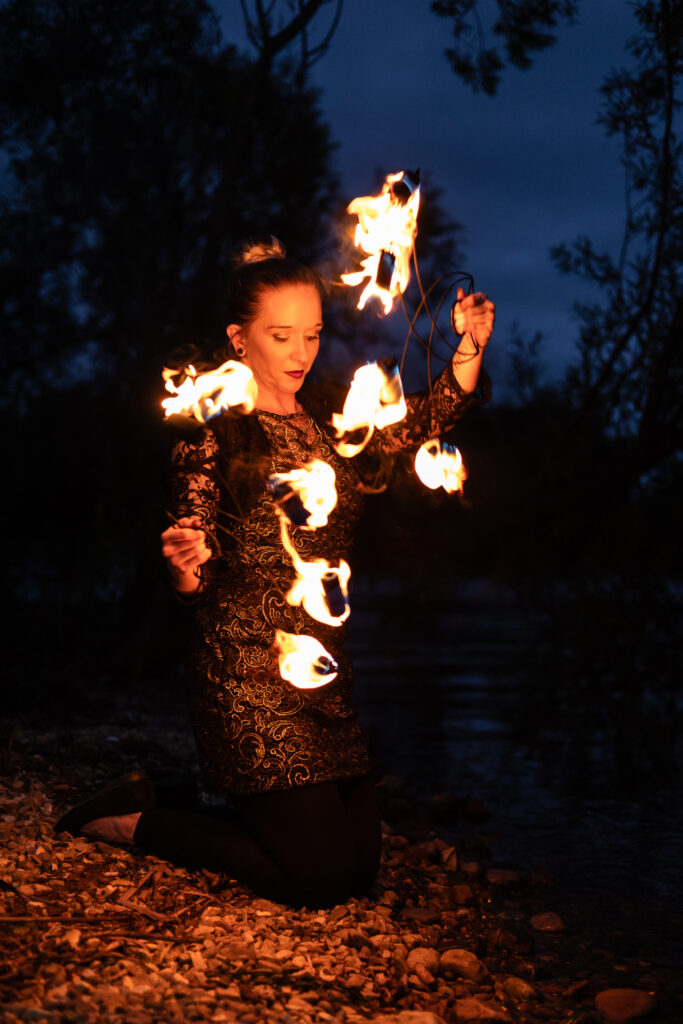
2. Fire twirling photography – setting the right exposure
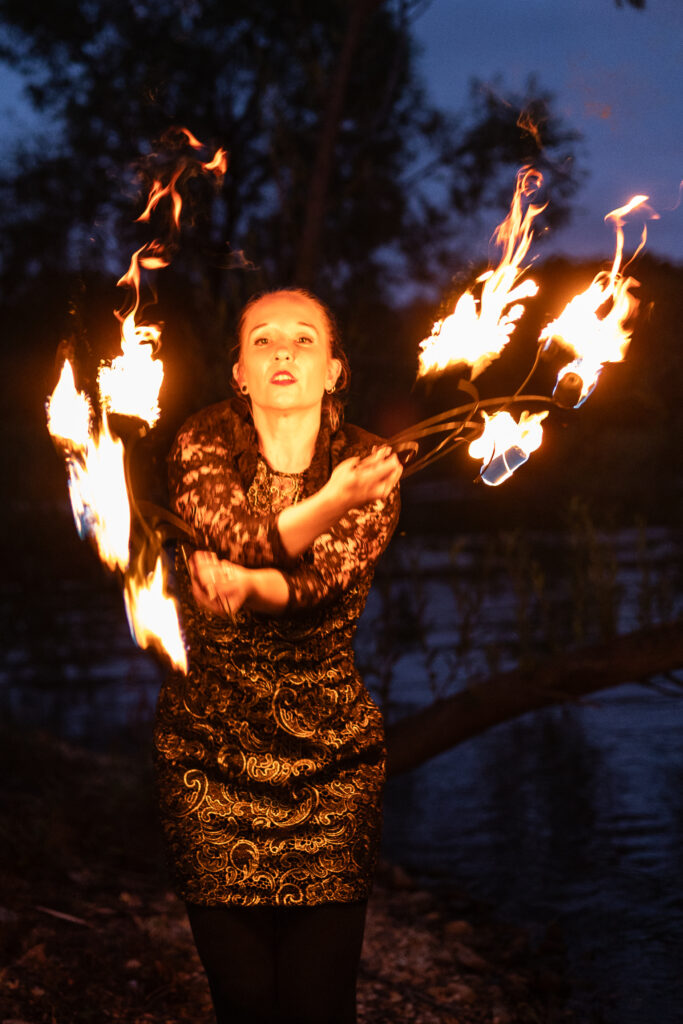
Fire twirling photography exposure settings can be a mixed bag, depending on the look you are going for. I used the manual mode and adjusted the shutter speed, aperture, and ISO according to the lighting conditions and the effect I wanted to achieve throughout my session with Wednesday.
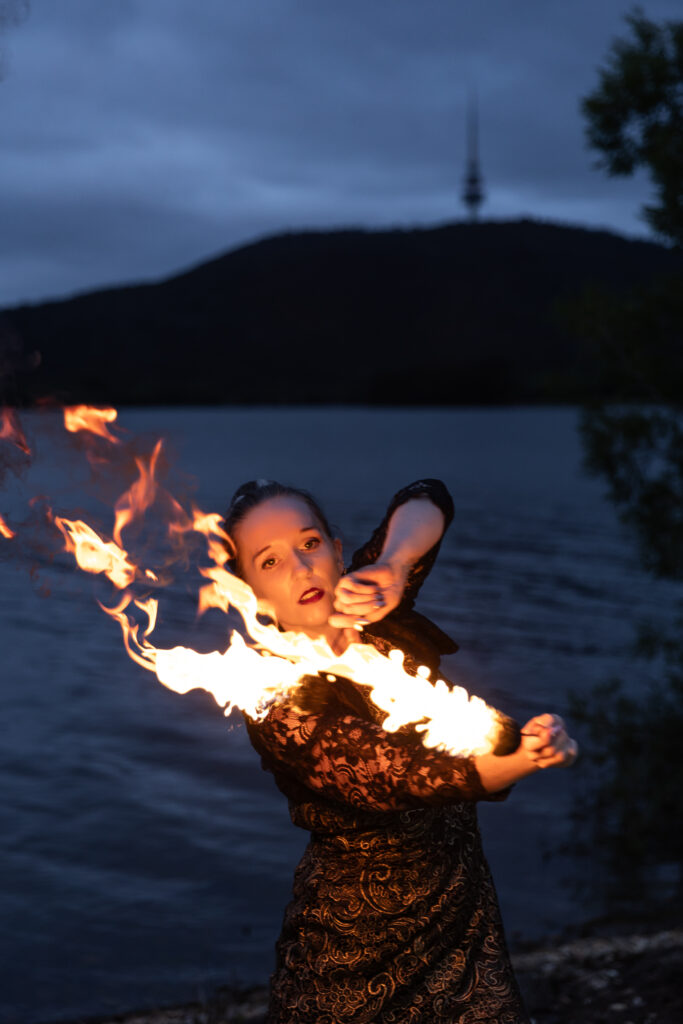
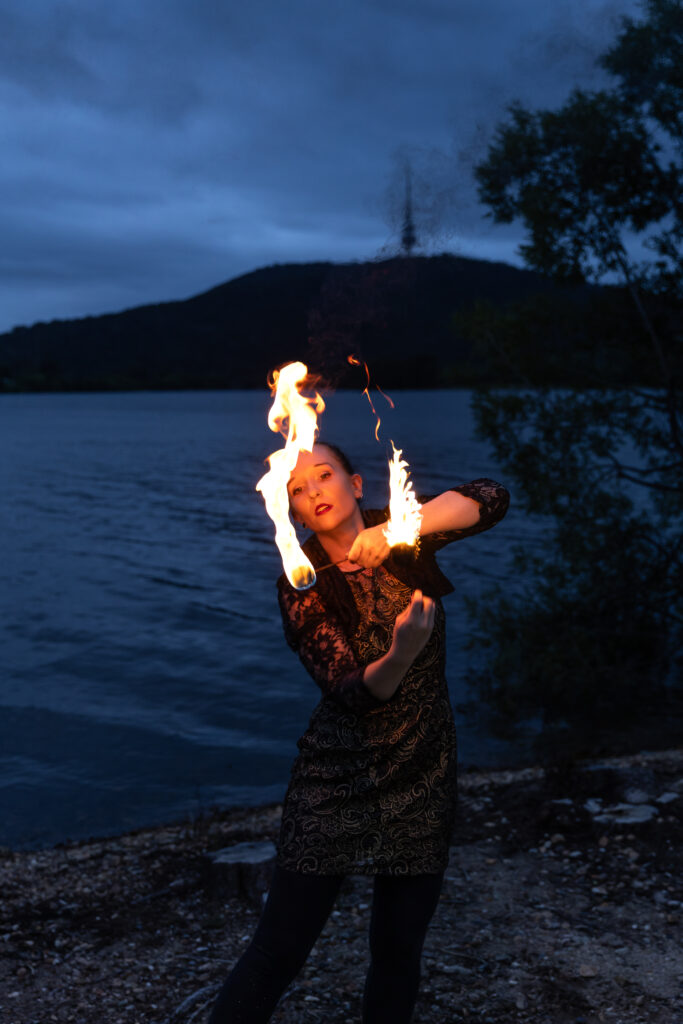
I took many images at around 1/250s to freeze the fire’s motion. This also showed the trails of flame as the fire moved through the air. I also experimented with some slower shutter speeds, such as 1/10s, to create longer fire trails. This effect is still a work in progress, and something I’ll try again in future to refine the results!
I generally shot at f2.8 for the 24-70mm lens or f1.8 for the 50mm lens to let in as much light as possible.
I bumped up my ISO as the light continued to fade, but was careful not to raise it too high. By balancing the settings I was able to keep my ISO to around 3200 to avoid too much grain in my photos, particularly as it got darker.
It was also tricky to balance the brightness of the flames against Wednesday’s face. I decided to expose for Wednesday’s skin as best I could, and reduced the highlights when editing.
3. Fire twirling photography – choosing the best angles
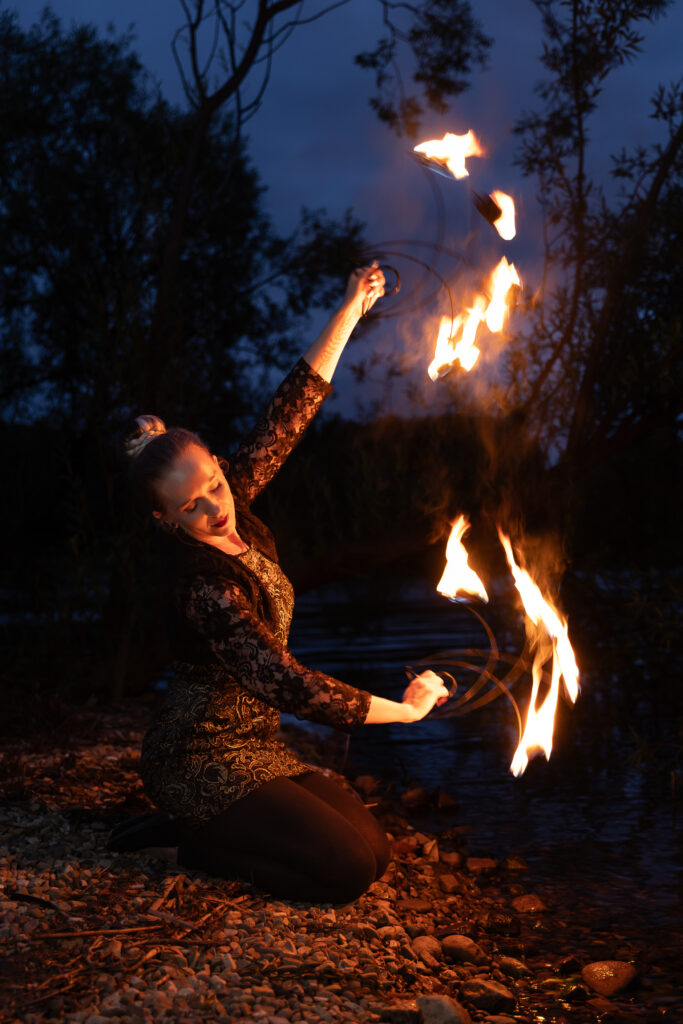
Angles and compositon can make or break photography, and it was a consideration for my fire-twirling photography session. Wednesday was against the edge of the lake for some shots, and had some water’s edge trees in others, both of which worked well.
Most of my shots were taken straight on. Towards the end of the session, I did experiment with some shots from a lower angle, with the flames reflected in the water.
Another learning for next time – take a few steps backward. Remember, fire twirling is about movement and if you’ve composed a tight shot, you’re going to miss things when your performer moves around.

Fire twirling photography might be a bit of a learning curve, but it was amazing to experience, and I hope to get another opportunity in the future.
Wednesday is a fabulous performer and it was such an enjoyable night! I can thoroughly recommend her performances! To get in touch with Wednesday at Luminary Performances, you can reach her through her website.
leave a comment